
Your Step-by-Step Guide to a Flawless Wedding Seating Chart
Introduction
You have sent the invitations, the RSVPs are rolling in, and your wedding day is starting to feel wonderfully real. Now, you face one of the final, most intricate puzzles of wedding planning: creating the wedding seating chart. This task is far more than just assigning names to tables. It is the art of crafting the perfect social atmosphere for your reception, a blueprint that can shape conversations, spark connections, and ensure every guest feels welcomed and celebrated.
While it may seem daunting, creating a thoughtful seating arrangement is one of the most considerate things you can do for your guests. This comprehensive guide will walk you through the entire process, providing a clear, step-by-step plan to design a flawless wedding seating chart. We will cover everything from strategic guest placement to modern digital solutions that make the process easier than ever.
Why a Wedding Seating Chart is a Crucial Part of Your Wedding Experience
Before diving into the “how,” it is important to understand the “why.” A well-executed wedding seating chart is a cornerstone of a successful reception for several key reasons. It directly impacts the guest experience, the overall event flow, and your own peace of mind on the big day.
First and foremost, it is an act of hospitality. A seating chart eliminates the “first day of school” anxiety for your guests, preventing them from wandering aimlessly looking for a spot or an empty chair. It shows you have personally considered their comfort. By placing them with familiar faces or like-minded people, you create an environment where they can relax and enjoy themselves from the moment they enter the reception.
From a logistical standpoint, a seating chart is essential for a smooth event flow. It prevents bottlenecks at the entrance and ensures a timely start to dinner service. For plated meals, it is absolutely critical for the catering staff, who rely on the chart to deliver the correct meals, especially for guests with dietary restrictions. According to wedding experts at Brides, a clear plan helps vendors provide seamless service.
Finally, a pre-planned chart gives you, the couple, invaluable peace of mind. You can relax and enjoy your celebration, confident that complex family dynamics have been handled with care and that every guest has a place. The problem with traditional paper charts, however, is their rigidity. A last-minute cancellation or an unexpected plus-one can create chaos, requiring stressful, last-minute adjustments. This is where modern solutions truly shine.
A Step-by-Step Guide to Mastering Your Wedding Seating Chart
Ready to build your reception blueprint? Follow these steps to create a thoughtful and effective seating arrangement without the stress.
Step 1: Gather Your Tools and Information
Before you place a single name, you need two key items: your final guest list and your venue’s floor plan. It is crucial to wait until you have received all your RSVPs. Starting too early will only lead to re-work. Once your guest list is confirmed, ask your venue coordinator for a detailed floor plan that shows the table shapes, sizes, and their placement in the room relative to the dance floor, speakers, and exits.
Step 2: Choose Your Seating Style
You have two main options for organizing your guests:
• Assigned Tables: You assign each guest to a specific table, but they can choose their own seat at that table. This is the most popular option, as it provides structure while still allowing for some guest autonomy.
• Assigned Seats: You assign each guest to a specific table and a specific seat. This is common for very formal, multi-course dinners and gives you maximum control over the social dynamics.
For most weddings, assigned tables offer the perfect balance of organization and flexibility.
Step 3: Start with the VIPs
Begin your seating puzzle with the easiest pieces: yourselves and your closest loved ones. First, decide on your own seating. Will you have a sweetheart table for just the two of you, or a head table with your entire wedding party?
Once that is decided, place your parents, siblings, and grandparents at the tables closest to you. These are your guests of honor, and their placement should reflect that. These tables should have a great view of the head table and the dance floor.
Step 4: Create Guest “Clusters”
Now, look at your remaining guest list and start creating groups or “clusters” of 8 to 10 people, depending on your table size. The easiest way to do this is by grouping people based on how you know them.
• College Friends
• Work Colleagues
• Family Friends
• Your Aunt’s Family
• High School Friends
This method ensures that everyone at a table will have a natural connection with at least a few other people.
Step 5: Strategically Mix and Mingle
Once you have your core clusters, you can play matchmaker. If you have a few guests who do not fit neatly into a group, look for a table where they might share common interests with others. For example, your well-traveled cousin might enjoy sitting with your friends who love to explore. The goal is to ensure no one feels isolated. As a rule of thumb, try to seat every guest with at least one or two people they already know.
Step 6: Consider Special Needs and Dynamics
A thoughtful seating chart accounts for everyone’s needs.
• Elderly Guests: Seat older relatives away from loud speakers and in a spot where they can easily access the restroom without navigating a crowded dance floor.
• Guests with Children: If you have several children attending, consider a “kids’ table” with activities. Be sure to place it within sight of their parents.
• Tricky Family Dynamics: Weddings often bring together family members who may not get along. Use your seating chart as a diplomatic tool to keep the peace by placing them at separate tables.
Common Pitfalls to Avoid with Your Wedding Seating Chart
Creating a great seating chart is also about knowing what not to do. Here are a few common mistakes to avoid.
1. Procrastinating Until the Last Minute: The number one mistake is waiting too long. This task requires time and thought. Start the process as soon as your RSVPs are in, about 2-3 weeks before the wedding.
2. Creating a “Singles” Table: While it may seem efficient, grouping all your single friends together can feel awkward and forced. Instead, integrate them into tables with other friendly, sociable guests where they will feel more comfortable.
3. Ignoring the Venue’s Flow: Do not just look at the chart on paper. Think about the physical space. Make sure there are clear pathways for guests and servers to move around. Avoid placing a table too close to the kitchen entrance or blocking the path to the bar.
Modernizing Your Seating Chart: The Digital Advantage
Wedding planning has embraced technology in so many ways, from digital invitations to online gift registries. Your seating chart should be no exception. Modern, digital wedding solutions offer a powerful alternative to traditional paper charts, solving many of the classic pain points.
The primary benefit is flexibility. With a digital seating chart, last-minute changes are no longer a catastrophe. If a guest cancels or you need to add a seat, you can update the chart instantly without the cost and stress of reprinting a large board.
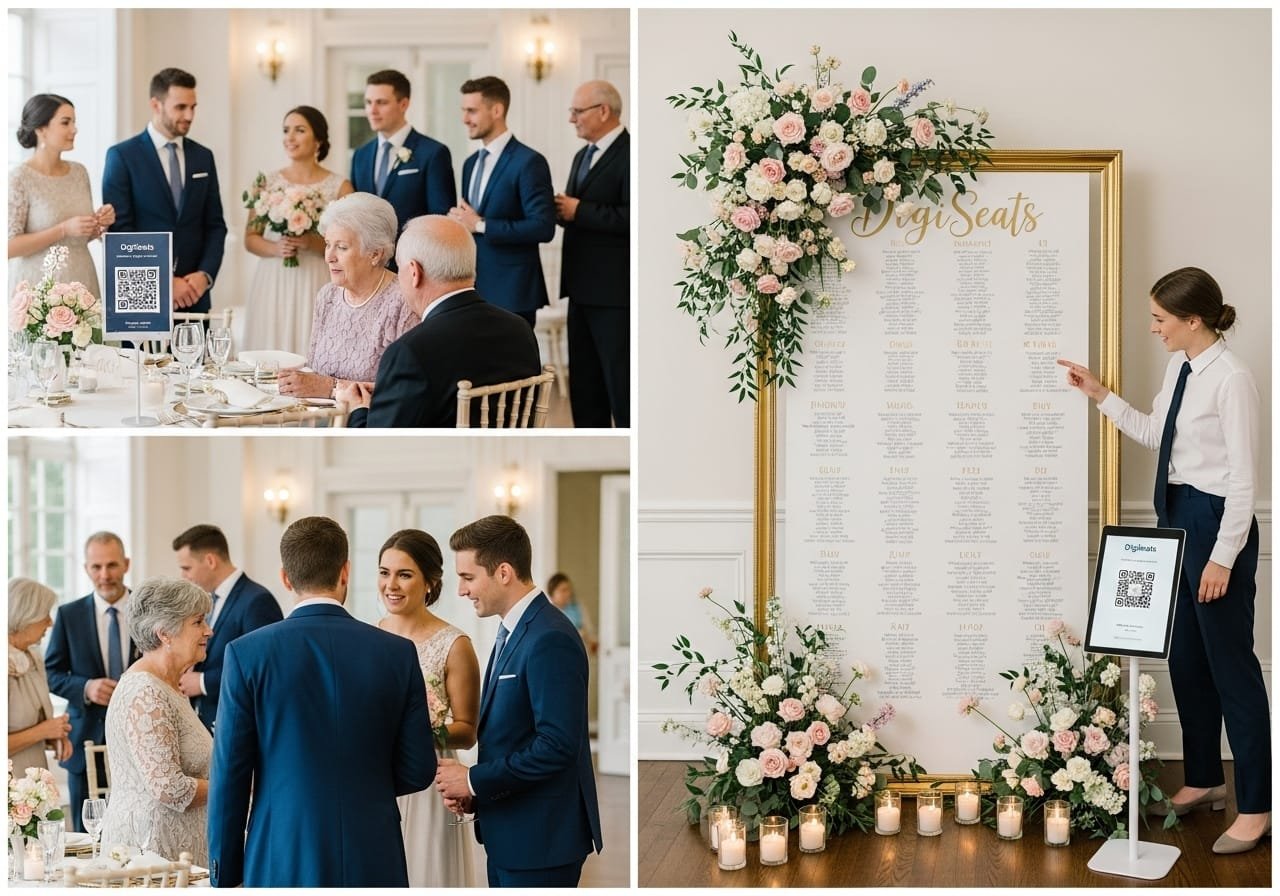
This modern approach is perfected by platforms https://digiseats.com/#features which have revolutionized seating charts with QR codes for weddings. The ability to make instant changes and provide guests with a seamless digital experience is a game-changer for modern wedding planning. Guests can simply scan a code with their phone to find their table, eliminating crowding and confusion. This also contributes to a more sustainable, eco-friendly event by reducing paper waste.
Creative Ideas and Trends for Your Seating Chart Display
Your seating chart is also an opportunity to add a beautiful decorative element to your reception.
• The Mirror or Acrylic Display: A large, elegant mirror or a sleek acrylic sign with guest names written in beautiful calligraphy is a timeless and popular trend.
• The Escort Card Experience: Instead of one large chart, use individual escort cards. You can attach them to a small favor, like a mini bottle of champagne or a potted succulent, for a personal touch.
• The Sleek Digital Welcome: For a truly modern look, display your seating chart on a large screen or have a beautifully framed QR code as the centerpiece of your welcome table. It is clean, efficient, and undeniably chic.
Conclusion: Creating a Seamless Experience for You and Your Guests
Your wedding seating chart is so much more than an organizational tool. It is a reflection of your care and hospitality as hosts. By starting early, grouping guests strategically, and considering the unique needs of your loved ones, you can design a reception atmosphere that is warm, conversational, and full of joy.
While the process requires thoughtful planning, it does not have to be a source of stress. By following these steps and embracing modern tools, you can master this important task with confidence. The result will be a seamless experience that allows you and your guests to focus on what truly matters: celebrating your love.
Ready to bring modern elegance to your wedding? Discover how digital solutions can streamline your entire wedding planning process. Explore how DigiSeats can transform your guest experience at https://digiseats.com


Leave a Reply